
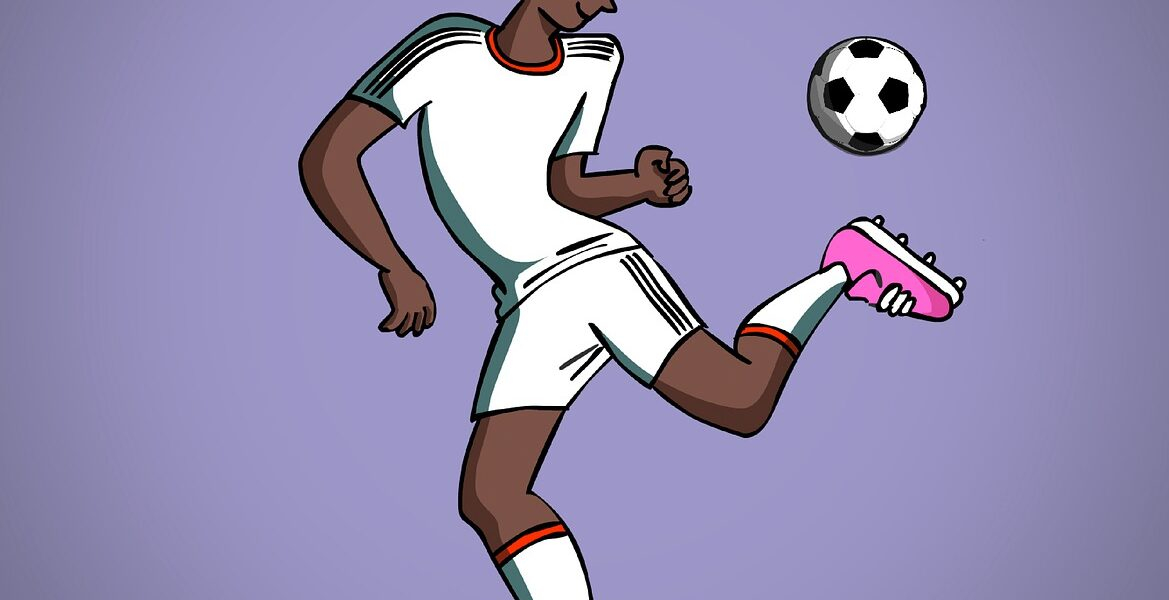
A Comprehensive Guide on How to Draw a Football
In this comprehensive guide, we aim to elucidate numerous aspects of the esteemed sport of golf, from its beneficial role in weight loss, to the intriguing objectives of a handicap. This guide comes replete with explicit tutorials on the intricacies of swinging a golf club and hitting a golf ball proficiently, as well as an in-depth look at key golf terminologies such as par, birdie, and eagle. We will also cover the significance of equipment understanding, such as discerning the ideal number of clubs in a golf bag. From beginners aspiring to comprehend the sport’s fundamentals, to seasoned golfers seeking in-depth knowledge – this guide is designed to serve all. We understand that the sport of golf can be complex and paradoxical, and this guide will endeavor to simplify its understanding. It is a one-stop resource for golf queries, tutorials, rules, terms, and beyond.

Understanding the Basics
The Shape of a Football
In order to accurately represent the object you are drawing, it’s essential to understand its form. We often think of footballs as round objects, actually, their shape is closer to a prolate spheroid – an elongated sphere. This shape helps it to travel through the air more efficiently and allows players to grip it better. Remember this detail when approaching your drawing.
Materials Needed
The beauty of drawing is that it requires only the simplest of tools. To draw a football, we prefer to have a pencil for sketching, an eraser to correct any mistakes, and a good quality set of colored pencils or markers for adding detail and color. If you wish to take your work further, a dark pen for outlining and a blending tool to smoothen your shading can be beneficial.
Understanding Football Terminology
As with any subject matter, it’s helpful to understand relevant terminology. Knowing your laces from your stripes, and your panels from your tips, can assist in creating a more accurate, detailed drawing. The laces are on the upper part of the football and are used for grip when throwing, while the stripes help players see the ball in the air.
Defining Your Boundaries
Measuring Dimensions
In drawing, accurate measurement is critical. Since football is a 3-dimensional object, we should consider these dimensions: length, breadth, and curve. A general rule for a football’s proportion is that length is about twice the breadth. Remember this ratio when drawing.
Drawing an Oval Rather than a Circle
Replace the common misconception that a football is circular, with the fact that it is more aptly described as an oval or an extended circle. When sketching your initial outline, aim for an oval shape.
Creating Symmetry
Because a football is symmetrical, both halves of your drawing should mirror one another. We can achieve this symmetry by folding your sketch in half (lengthwise) to compare both sides or by using a ruler to measure key characteristics.

Drawing the Outline
Starting with a Horizontal Line
Our first action will be to draw a horizontal line which will act as the guideline for width. The middle point of this line will guide you in drawing symmetrical halves of the football.
Drawing the Top and Bottom Halves
Starting from the middle point, draw the top and bottom halves remembering that they should be the mirror image of each other. This horizontal line will serve as your football’s circumference.
Improving Oval Shape
The best way to perfect your football’s oval shape is through practice. We can make adjustments by adding or erasing lines where needed. Remember, the football is wider in the middle and tapers at both ends resulting in pointy edges.
Adding the Laces and Stripes
Creating the Laces
The laces of a football are crucial and give it its distinct, recognizable look. Draw a small rectangle near the top of your football, then add a series of vertical and curved lines within, to represent laces.
Adding the Stripes
The stripes on a football are usually found on either tip. We can represent them by drawing thin, curved rectangles on both ends of your football.
Getting Proportions Right
Nothing ruins a football drawing faster than misplaced or misshapen laces and stripes. Hence, we must strive to get the proportions right. The stripes should never be wider than the ball, and the laces should be centralized and correctly sized.

Shading and Coloring Your Football
Selecting Colors
The traditional color of a football is a brown or burnt sienna with white laces and stripes. However, you may use any colors that you prefer or think will add more to the drawing.
Understanding the Effect of Light
Adding shading to your drawing will enhance its 3-dimensional nature. Consider your light source and add darker shades to the opposite side.
Different Shading Techniques
We recommend using a combination of shading techniques to create depth and texture on your football. This might include cross-hatching, contouring, or stippling.
Drawing a Football in Motion
Understanding Motion in Art
Conveying movement in a drawing is challenging. To show a football in motion, we can use action lines or motion lines that follow the direction your ball is moving.
Using Action Lines
These are streaks drawn behind the object to show its path through space. To imply a quick movement, use straight, diagonal lines, or curves for a bouncing ball.
Creating a Blur Effect
Drawing a blurred or smudged edge around the football can also effectively depict motion. The direction of the blur will indicate the movement’s direction.

Drawing Footballs in Different Positions
Turning and Tilting The Football
Drawing the football from different angles will make your art more dynamic. Practice turning and tilting the football in your drawings in order to master this skill.
Drawing a Football Being Kicked
To illustrate a football being kicked, we must consider force and direction. Portray the player’s foot making contact and use action lines to exhibit the path of the ball.
Drawing a Football in a Hand
To depict a football in a player’s hand, an understanding of human anatomy and perspective is necessary. Note the grip and the direction of the fingers.
Mastering Player’s Perspective
Drawing a Point of View of a Quarterback
A player on the field sees the game differently. If we’re drawing from a quarterback’s perspective, for instance, we need to put ourselves in their shoes, studying their line of sight and what they see.
Drawing as if You’re Receiving the Ball
The eyes of a player receiving the ball are fixated on it. Draw a close-up of the ball with a wide view of the background to replicate this viewpoint.
Drawing from a Spectator View
The spectator’s view is broader, capturing the entire field and play. This requires a wider frame with more players and details.

Using Advanced Techniques
Drawing a Realistic Football
When you’re comfortable with your drawing abilities, strive for realism. Pay close attention to light, texture, and shadows and incorporate this detail into your drawing.
Using a Football for Still Life Drawing
A football can also be used as a subject for a still life drawing. Arrange it with other objects and observe the play of light, shadow, and reflections on its surface.
Including a Football in a Larger Scene
To showcase the football within a larger scene, include other elements such as players, the field, the stadium, or even the crowd.
Continually Improving Your Skills
Practicing Regularly
Becoming skilled at drawing takes time and practice. Commit to regular sketching and you will find yourself improving over time.
Trying Different Drawing Mediums
While pencils are the go-to medium for many artists, don’t miss out on exploring others. Pastels, charcoal or even digital mediums can offer different effects and textures.
Getting Feedback from others
Finally, don’t shy away from receiving constructive criticism. Show your work to others and take on board their feedback. We are often our own worst critics, and fresh eyes can provide valuable insights.